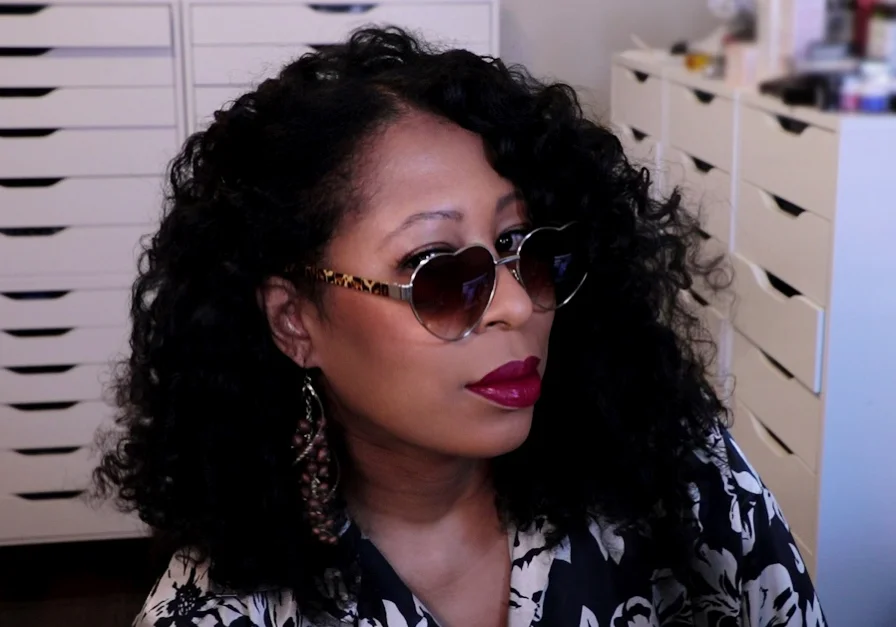
My natural curls didn't always look like this. Heck who am I kidding? There are still times when my natural curls are my worst nightmare. However, the past few months, they have been a breeze to work with and have really made me begin to question why I was flat ironing my hair for so many years.
So here is an easy way to get full and soft bouncy curls (without any heat) with your natural hair.
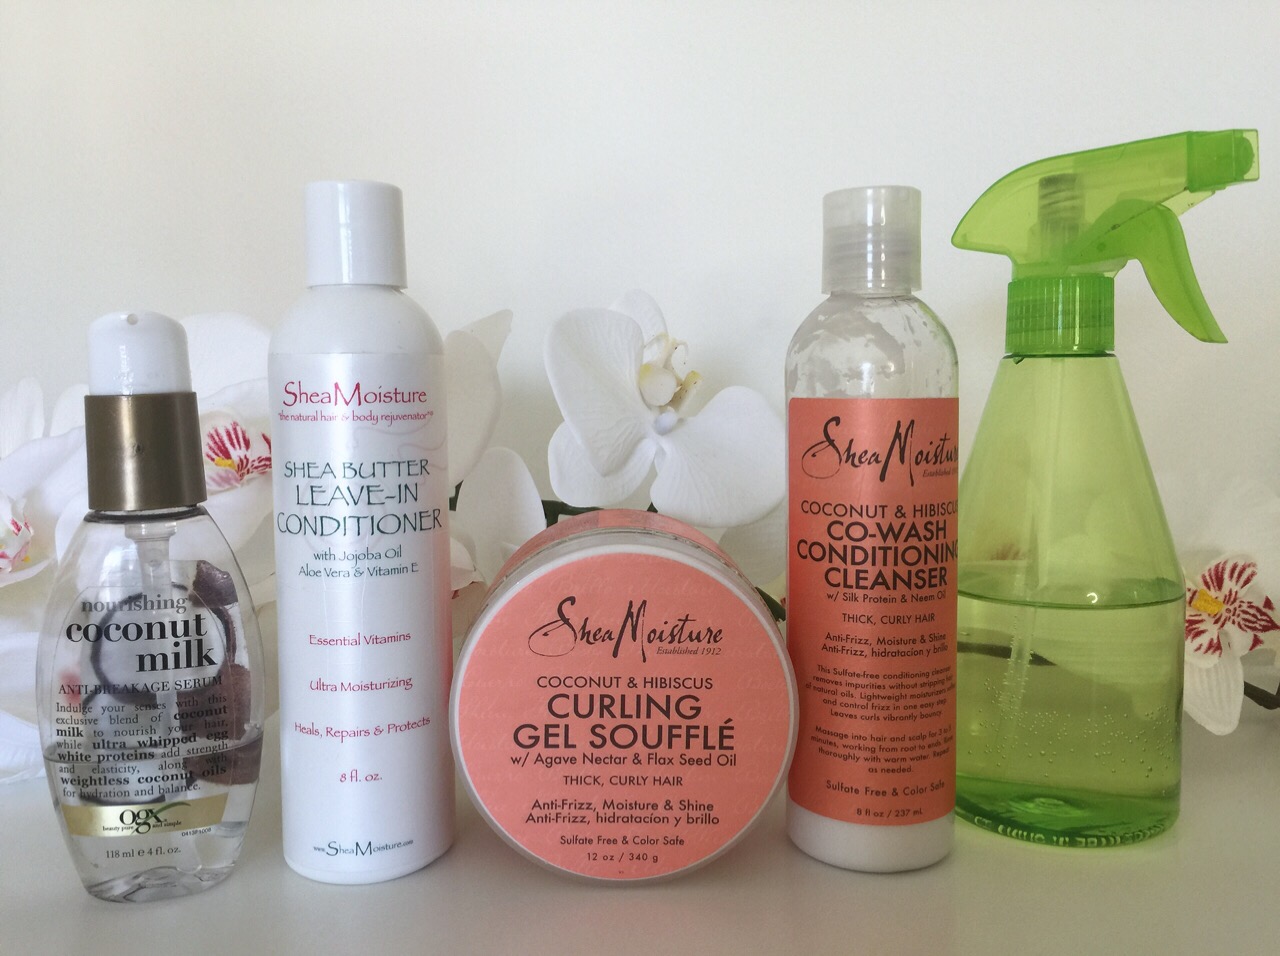 (The styling products that I use for my curls)
First, make sure that you cleanse your hair with a Co-Wash Conditioning Cleanser. For the past few months, I've been using the Coconut & Hibiscus Co-Wash Conditioning Cleanser from SheaMoisture which helps to remove any build up and gives my hair the satisfaction of a shampoo wash without stripping my hair of its natural oils and still moisturizes my curls.
After cleansing my hair, I normally let it air dry and depending on how much time I have I may let it air dry for an hour to overnight before installing my styling tools. Now for my styling tools, I love using my flexi rods to give me defined curls without using any heat. I use the Diane By Fromm 42-pack Twist-flex Rods pack because it has a variety of rod sizes which I use throughout my hair for volume and definition. 
Now you're ready to begin! You want to start off by sectioning off your hair which will make it easier to apply your styling products and flexi rods. Next, you may want to lightly spritz your hair with some water before adding in your oil and leave-in conditioner depending on how moisturized your hair is. I lightly mist my hair before applying anything just to help smooth out my hair and I also find that it helps to hold the curl longer (it does make the drying time a little bit longer though).
Once that is done, I take my Coconut Oil by OGX and mix it together with the Curling Gel Souffle from SheaMoisture and rake that through my hair. I follow this up by adding in the Shea Butter Leave-In Conditioner because it works as a sealant to close the hair cuticle and locks in all of the moisture that I just added.
Now, you can take your flexi rods and start placing them in your hair. There are many different techniques to applying your flexi rods so try playing around with them to find out which works with your hair. I like to install them by starting at the end of my hair and then rolling them up to the roots. Once I reach the top of my head, I secure the rods by bending them in a comfortable position that will hold the curls.
And that's it! Normally, I will let these dry in my hair overnight or if I need a quick curl touch up in the morning, I will repeat all of these steps and let it sit for about 30 minutes to an hour. Just to make it a little bit easier, I put together this quick pictorial to show you how I achieved these curls with no heat.


And the final outcome...

 Now we want to be able to preserve these curls for about 4 to 7 days. So before getting ready for bed, pull your hair up into a Pineapple on the top of your head with a hair tie wrapped around the hair once to lightly hold it in place. Then, wrap a satin scarf around your hair to help preserve the curls and keep them from frizzing. In the morning, all you have to do is unwrap your hair, remove your hair tie and shake out your curls.
 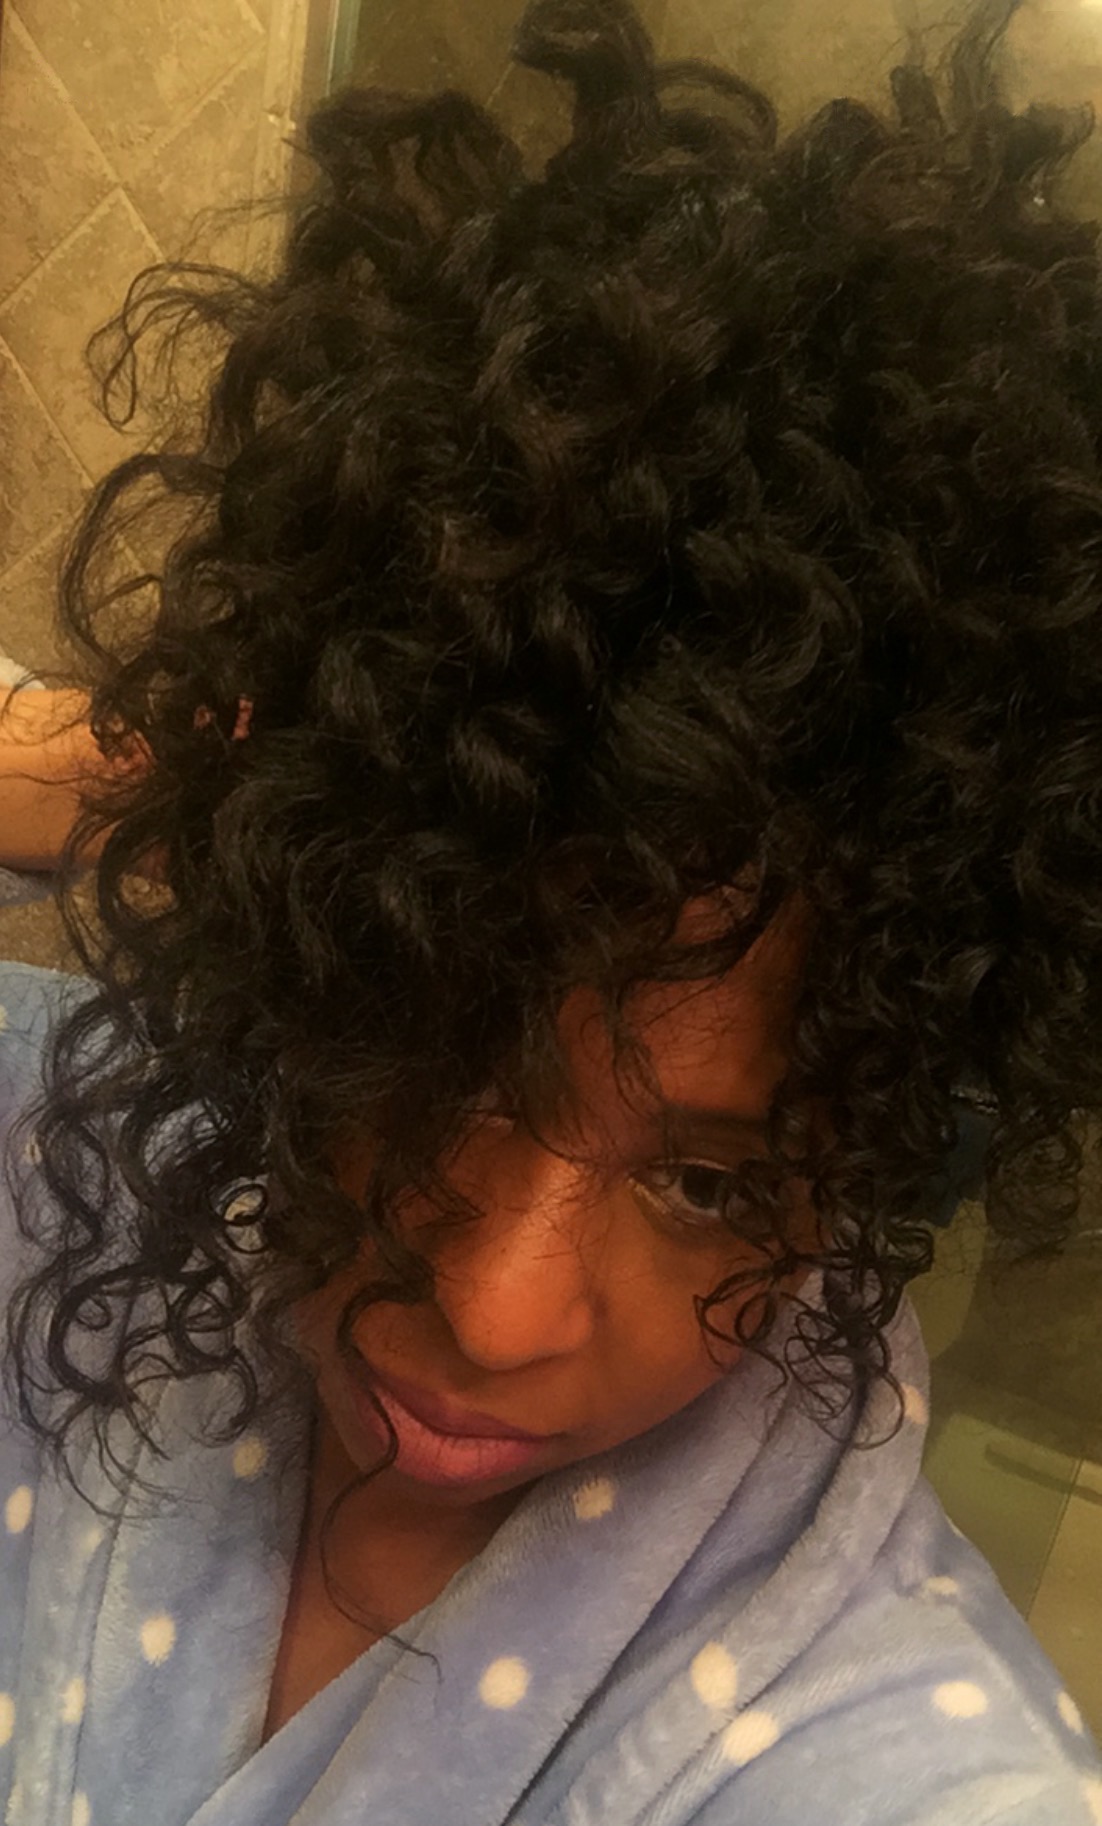 Oh and here's a tip! Once you get the hang of this, your second and third day curls will look even better than your first day of curls. The photos from this post (of me in the blazer and blue shirt as well as the pineapple picture) are of me rocking my curls on Day 4. Yeah...let that set in for a second.
Products used:
Coconut & Hibiscus Co-Wash Conditioning Cleanser from SheaMoisture
Diane By Fromm 42-pack Twist-flex Rods
Coconut Oil by OGX
Curling Gel Souffle from SheaMoisture
Shea Butter Leave-In Conditioner

-Affiliate Links-
